Why Visual Editing Matters
Faster Iterations
Make changes in seconds, see results instantly. No waiting for AI responses.
Lower Credit Cost
Visual modifications consume minimal credits compared to descriptive edits.
Precise Control
Select exactly what you want to change. No ambiguous descriptions needed.
Live Preview
See every adjustment update in real-time as you modify elements.
Getting Started
Enable Visual Editing
Click the Edit button in the bottom-left corner of the chatbot to activate Visual Editing mode
Editing Different Elements
Text Elements
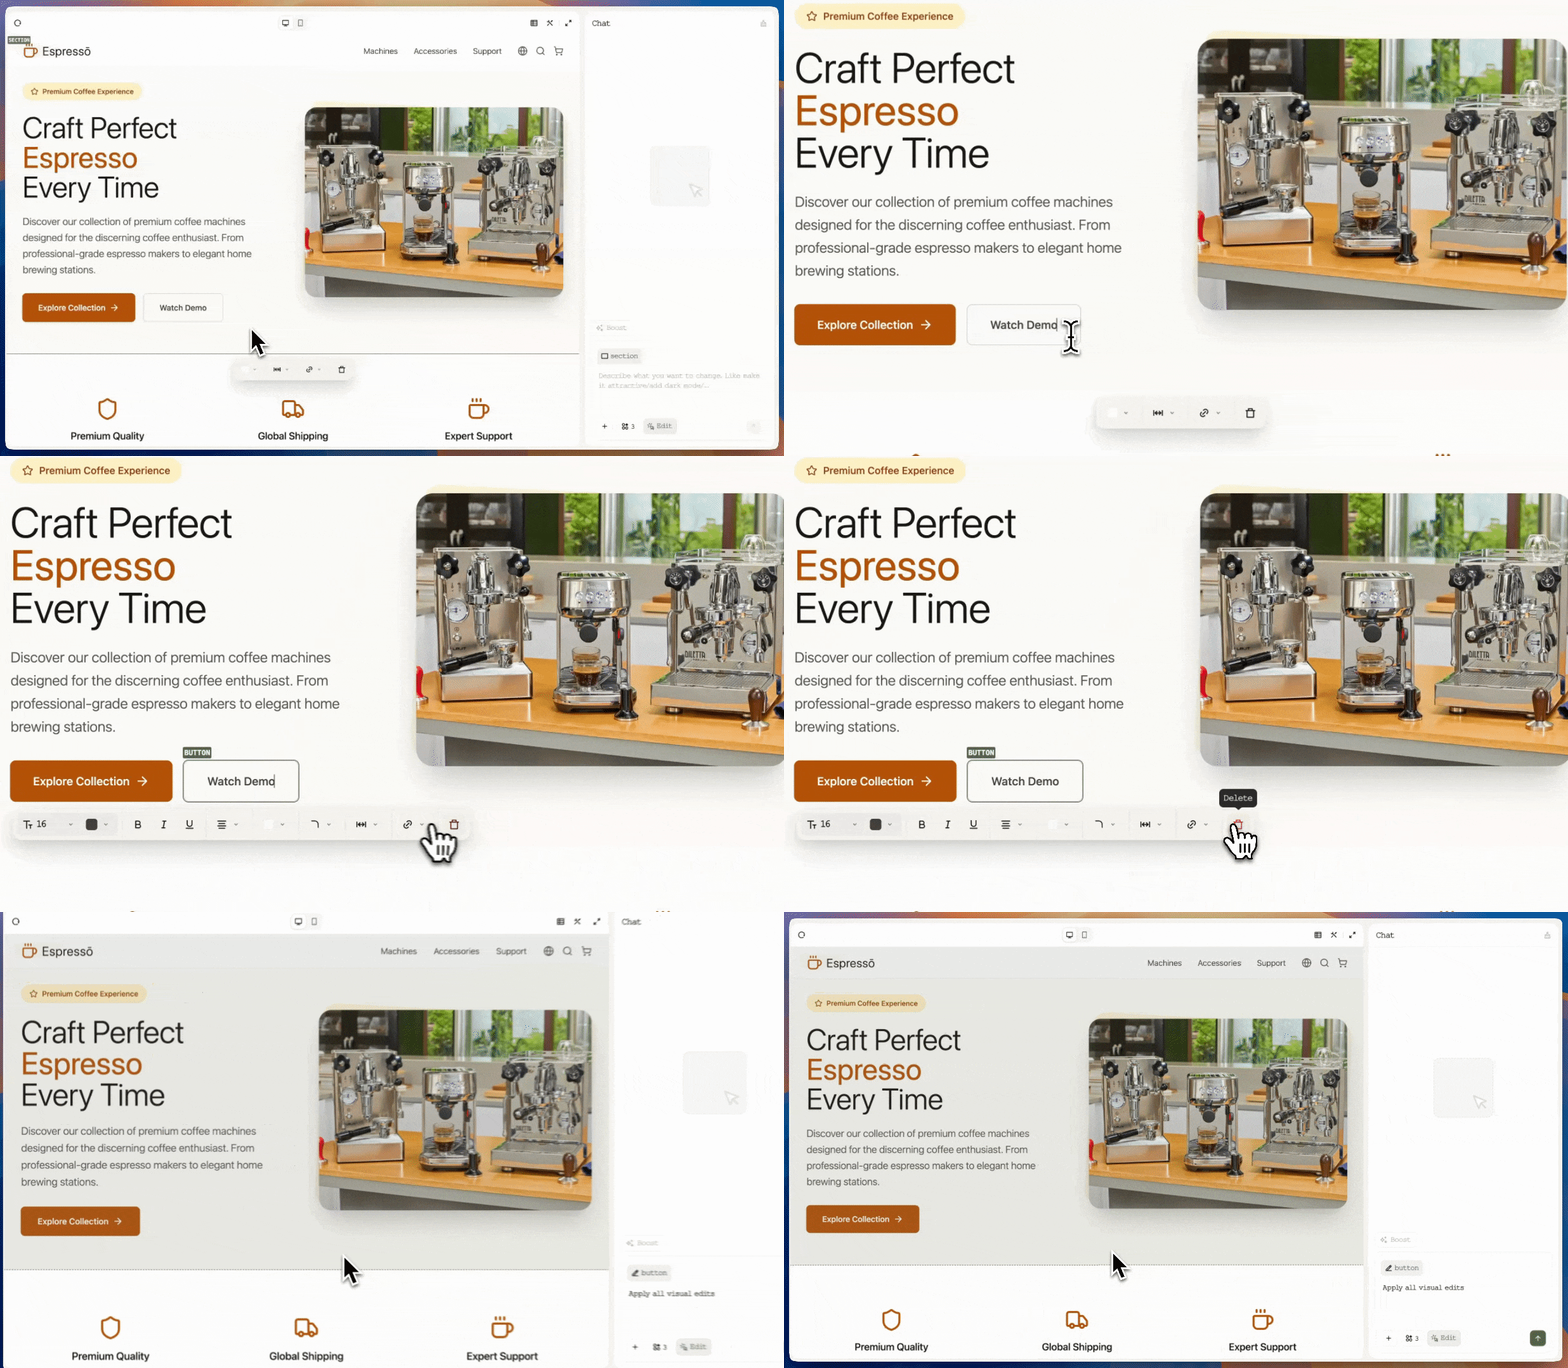
Click directly on any text to edit its content. The toolbar provides comprehensive formatting options:Text Formatting
Text Formatting
Adjust font size, color, style (bold, italic, underline), and text alignment. Add hyperlinks to make text interactive.
Spacing Control
Spacing Control
Modify padding and margin to control space around text elements and their positioning.
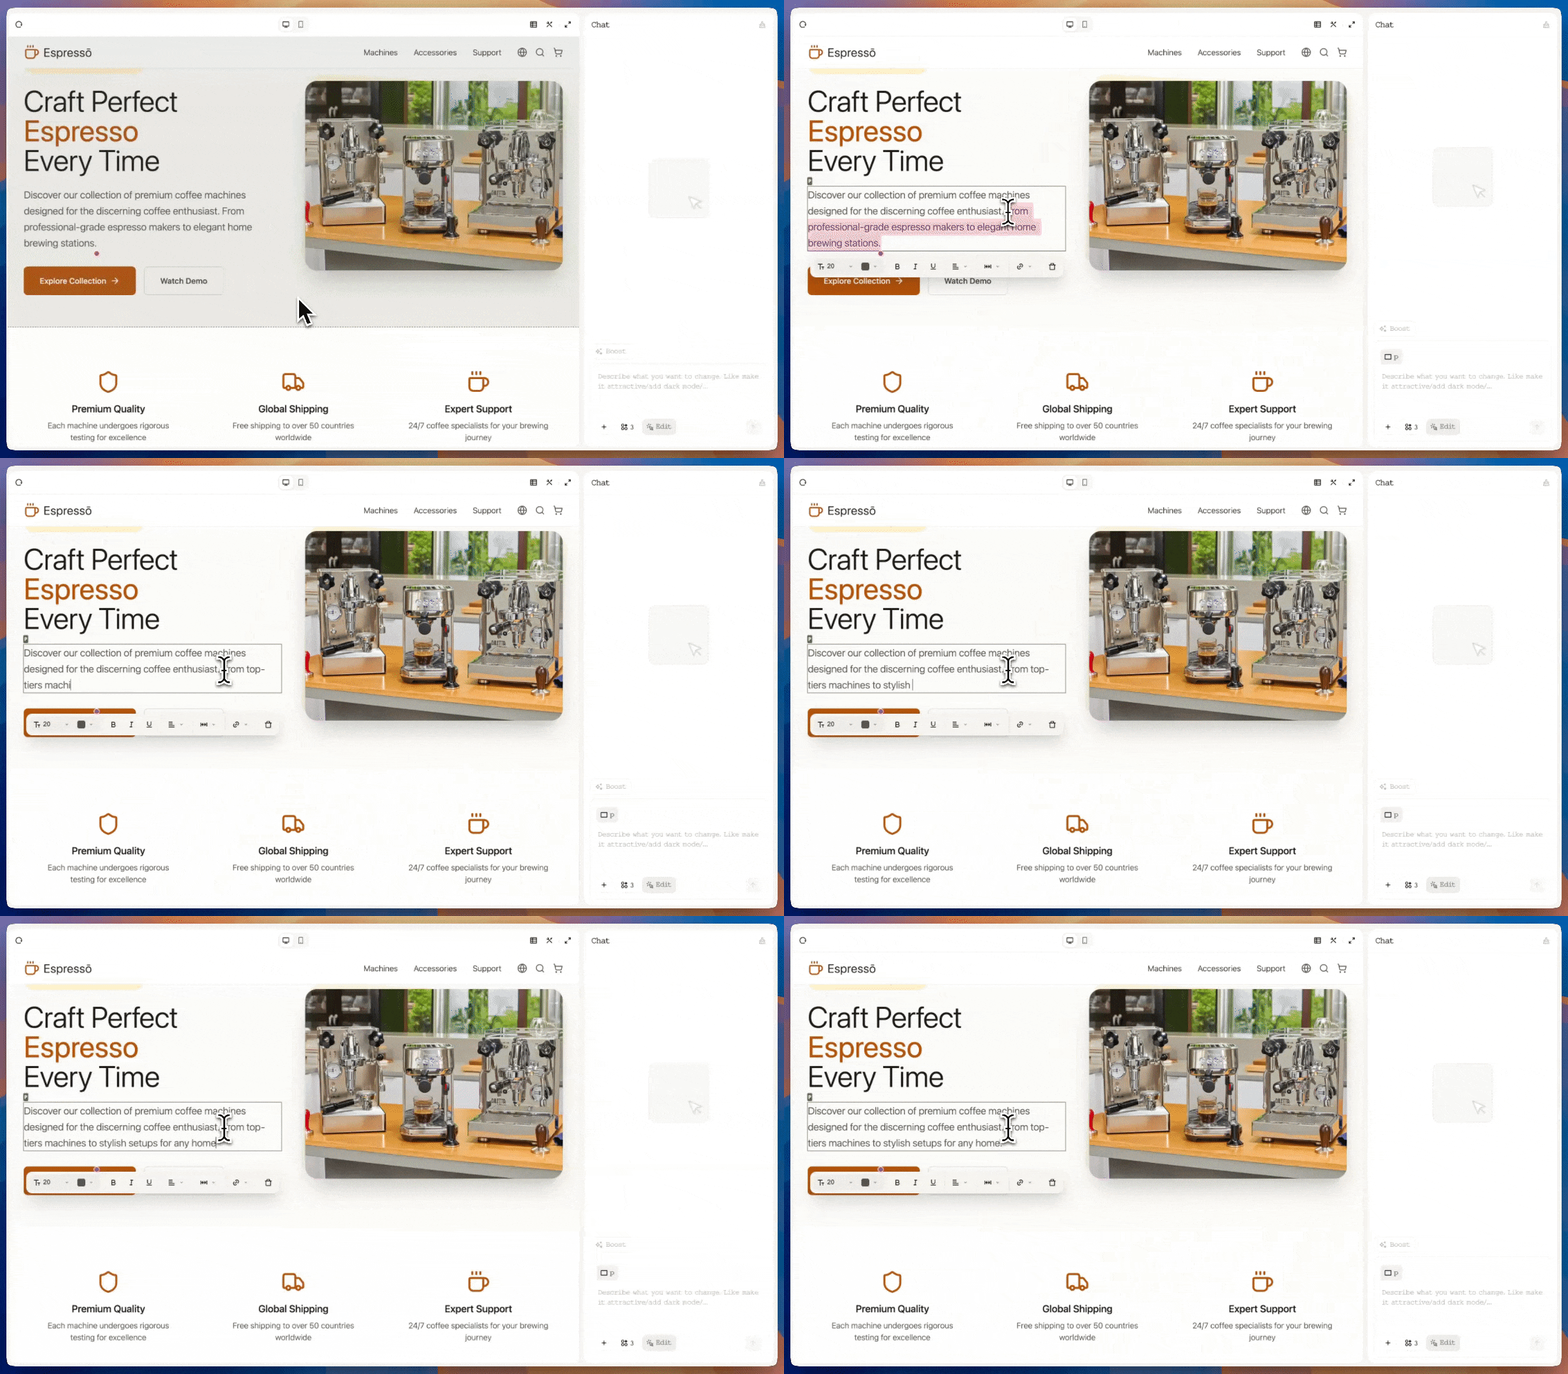
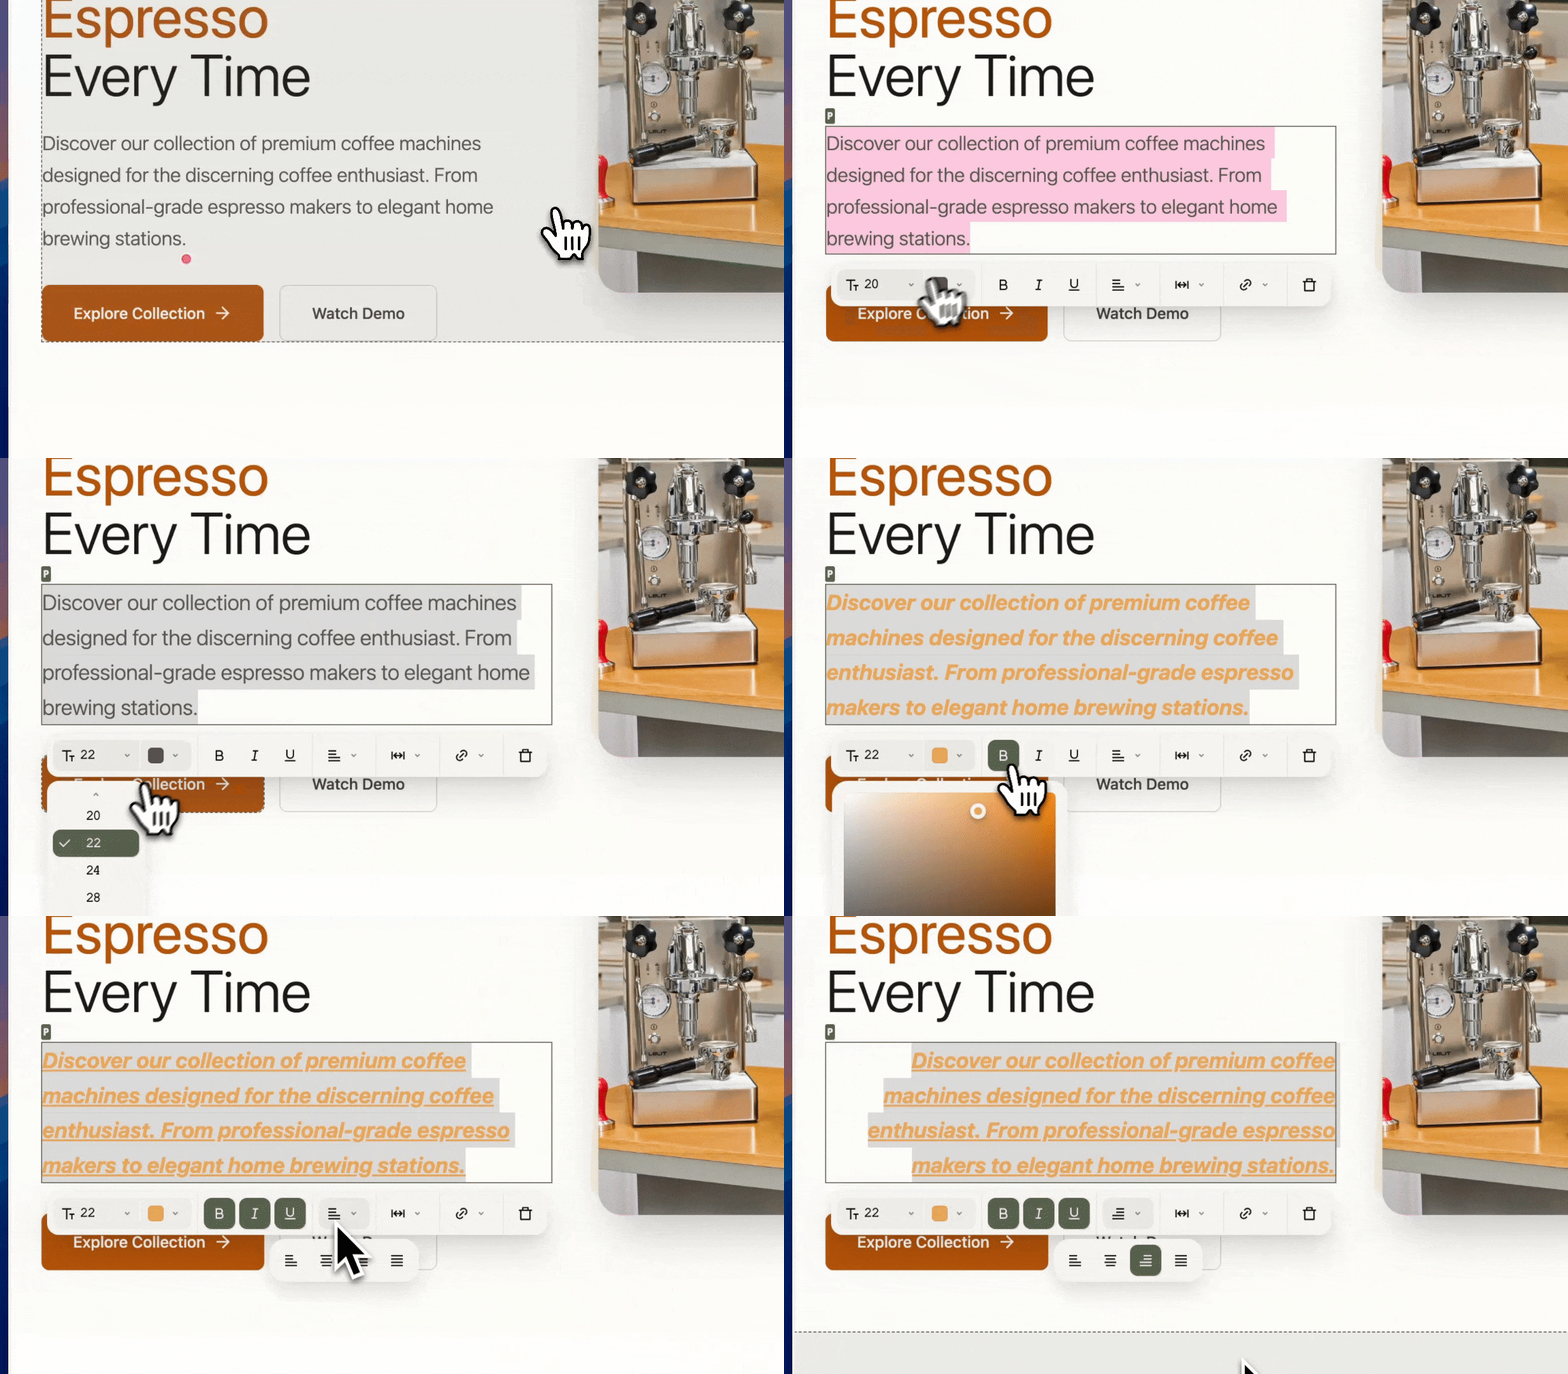
Image Elements
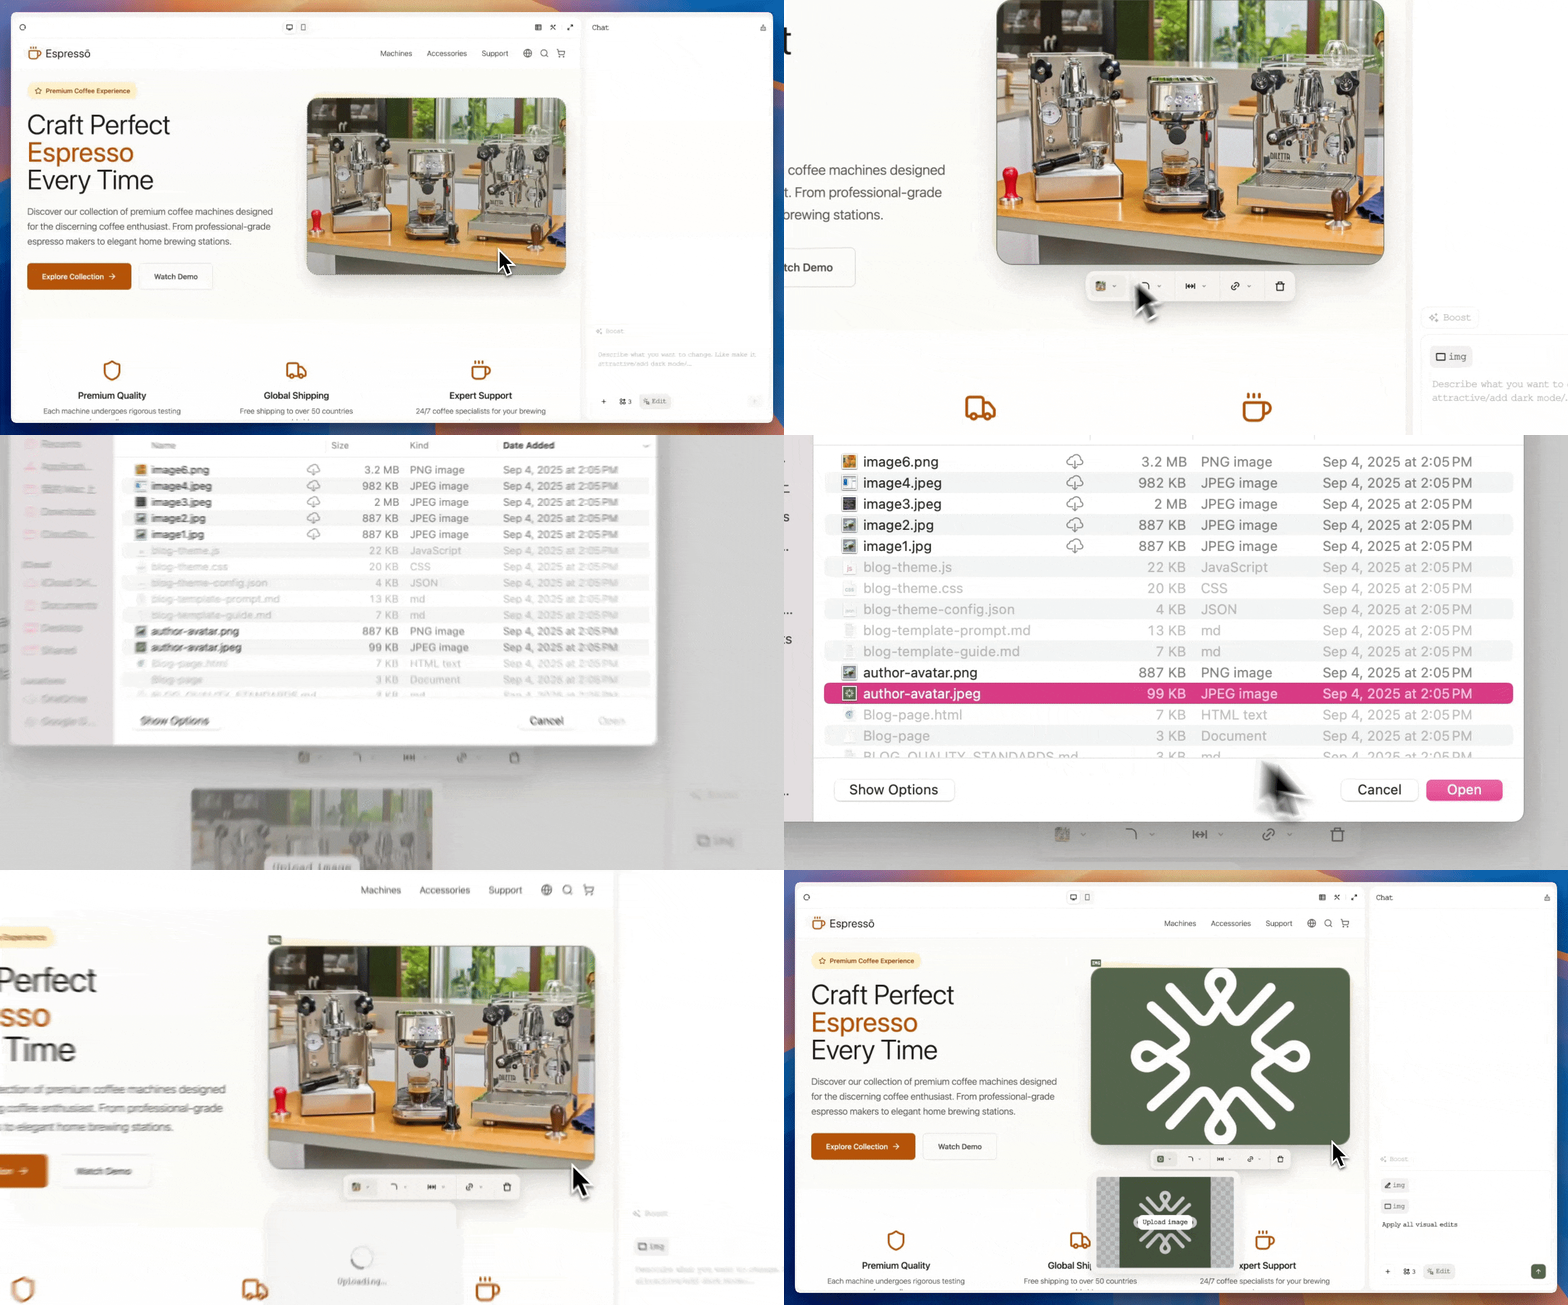
Select any image to replace or customize it:Replace Image
Replace Image
Upload a new image file (PNG, JPG, SVG, WEBP, GIF) to replace the selected image instantly.
Customize Appearance
Customize Appearance
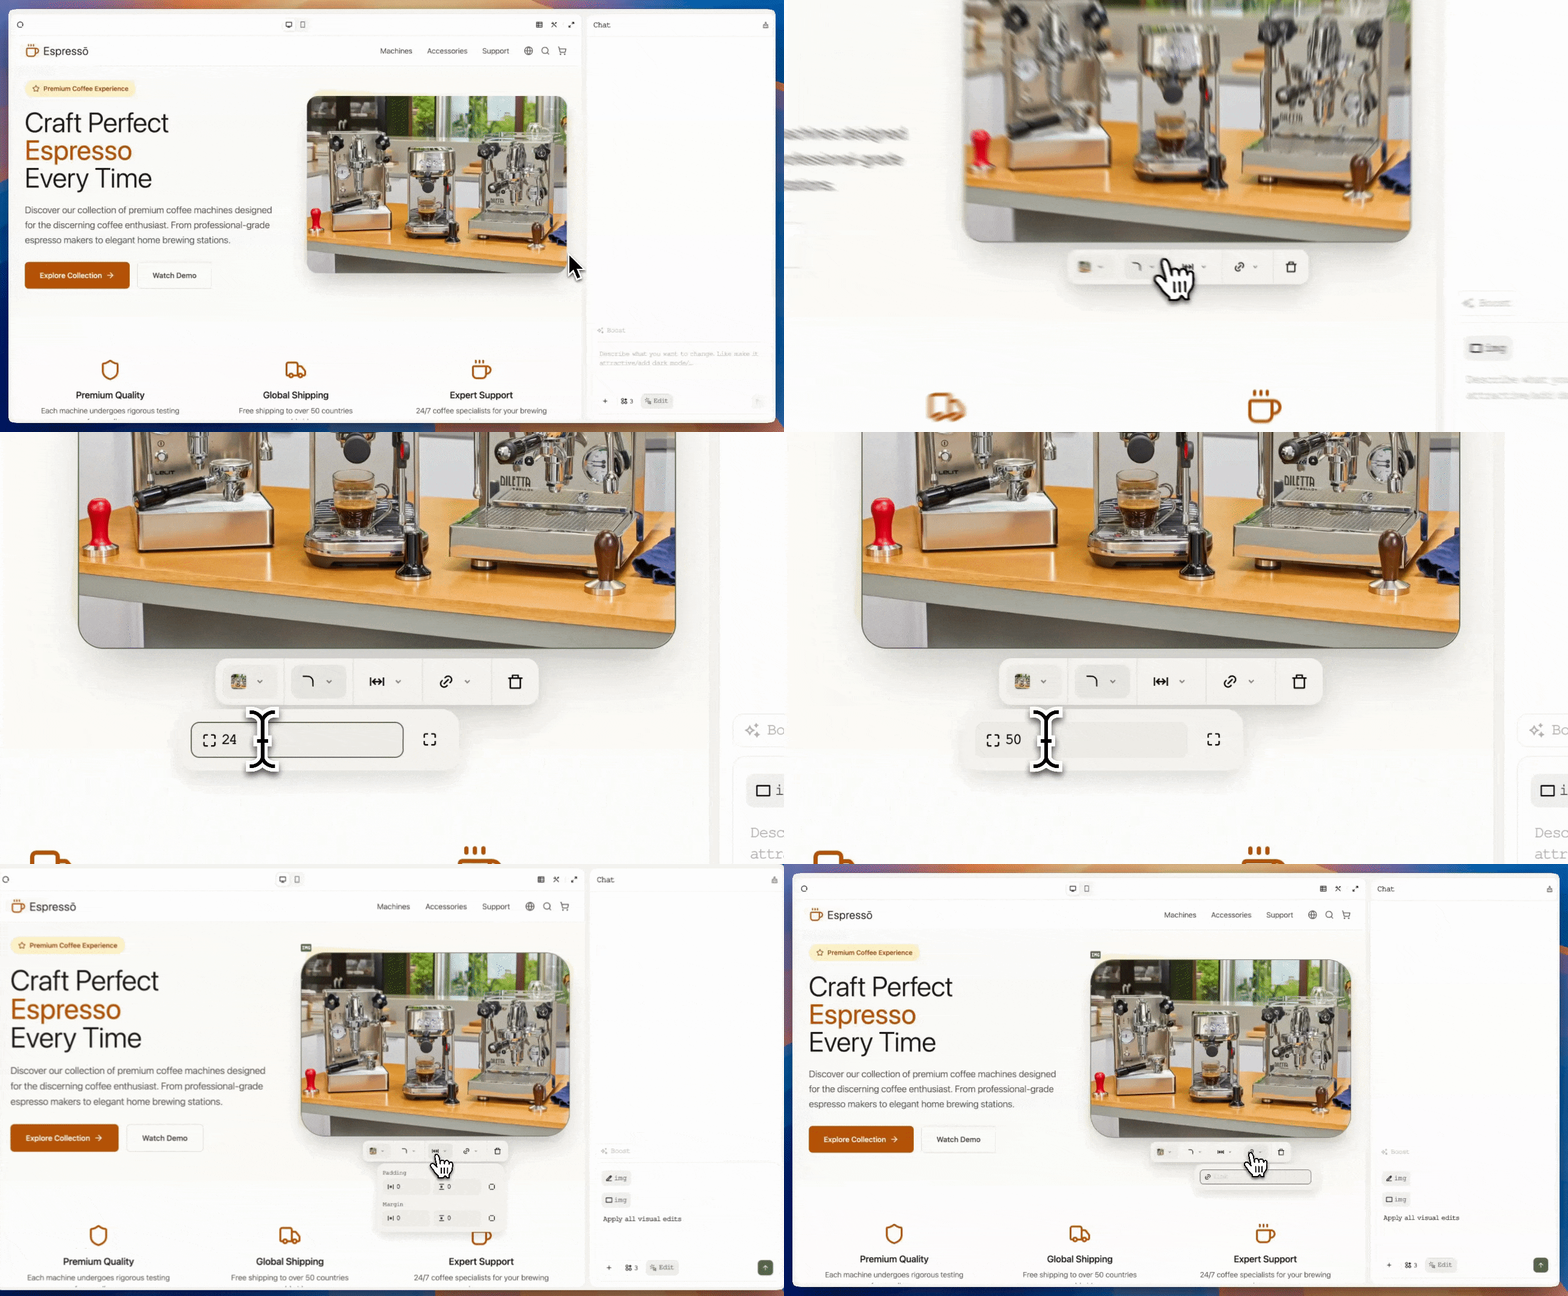
Adjust corner radius for rounded corners, control padding and margin, or add hyperlinks for interactivity.
Other Elements (Divs, Buttons, Spans, etc.)
Customize styling and interactivity for any page element:Styling Options
Styling Options
Modify corner radius, padding, margin, or background color to match your design vision.
Add Interactivity
Add Interactivity
Add hyperlinks to make any element clickable, turning static elements into interactive components.
Remove Elements
Remove Elements
Delete elements you no longer need with a single click. The element is removed from your page immediately.
Keyboard Shortcuts
Speed up your workflow with these keyboard shortcuts:macOS Shortcuts
macOS Shortcuts
- Cmd+Z — Undo your last change
- Shift+Cmd+Z — Redo your last change
Windows Shortcuts
Windows Shortcuts
- Ctrl+Z — Undo your last change
- Ctrl+Shift+Z — Redo your last change
Applying & Saving Changes
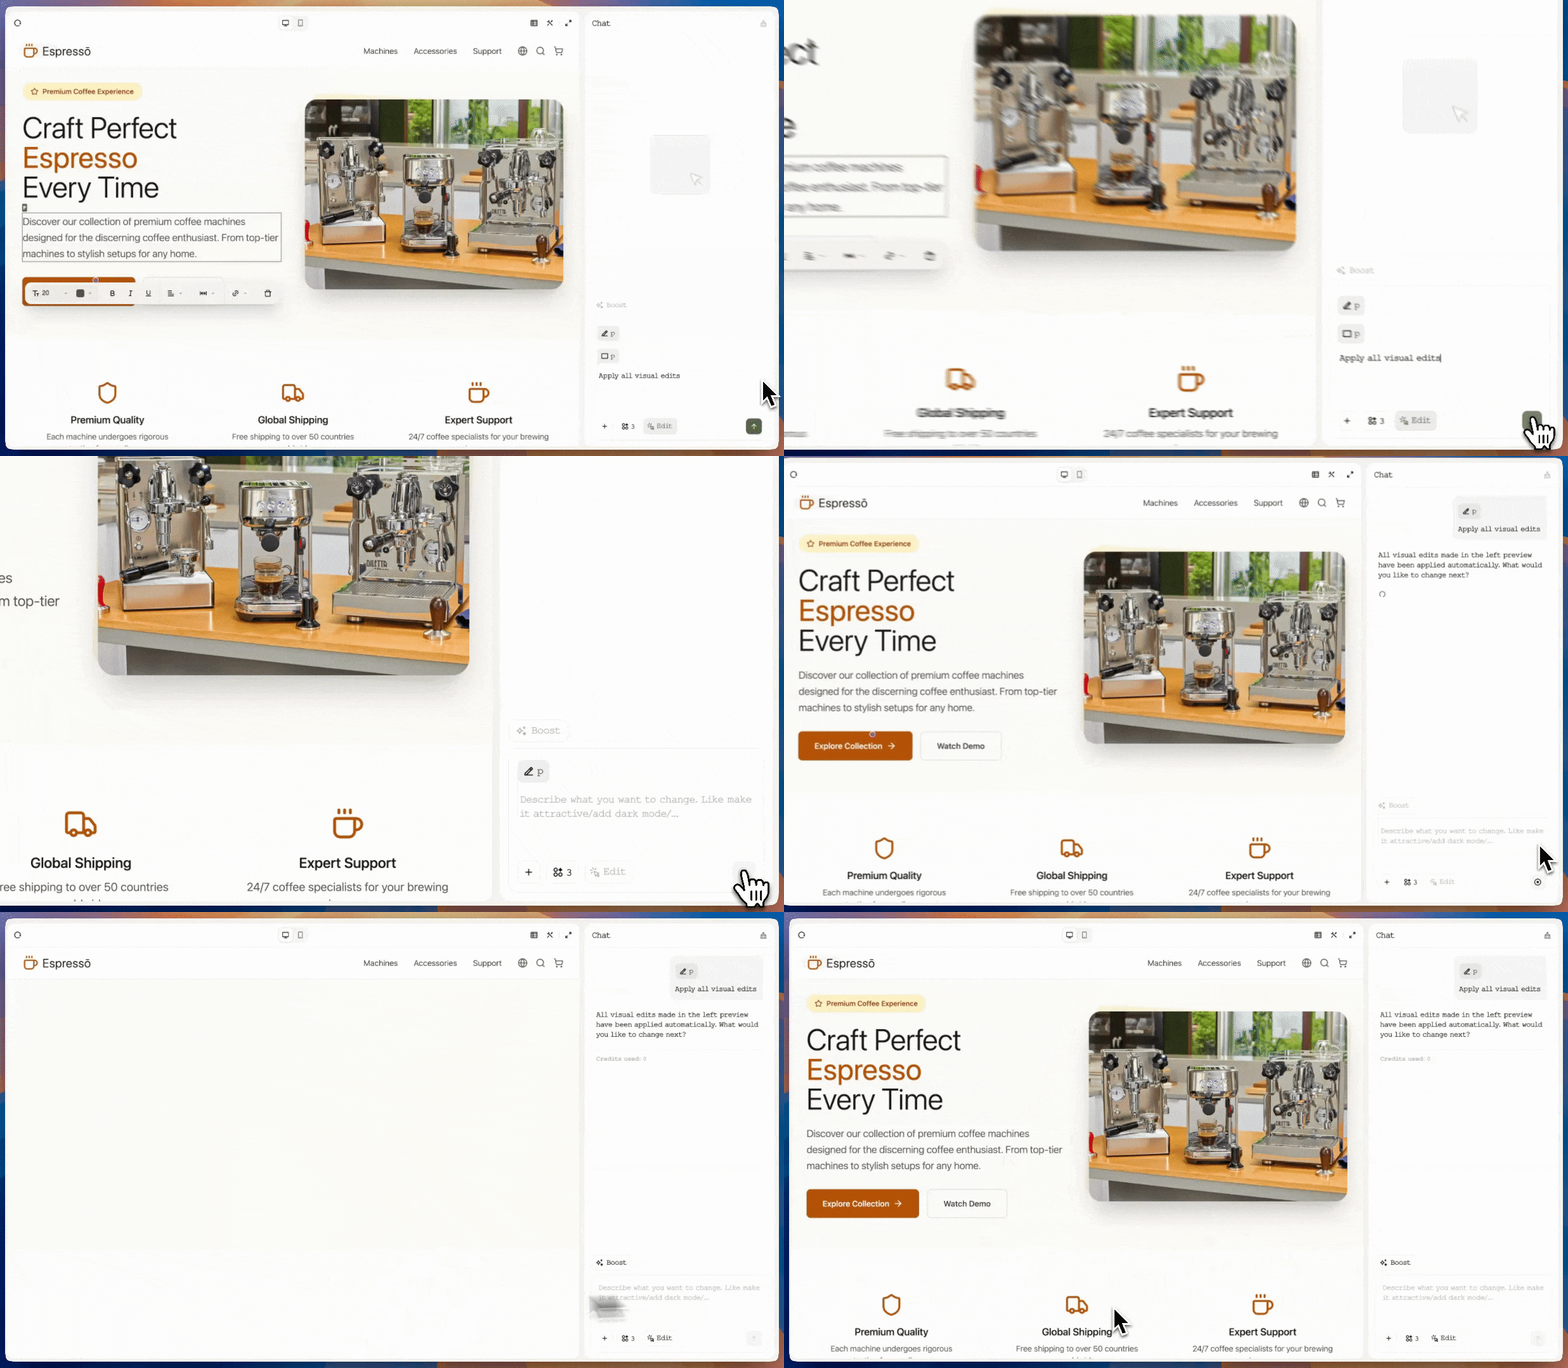
Important: Changes are only saved when you apply them. Unsaved modifications will be lost if you exit without applying.
Exiting Visual Editing
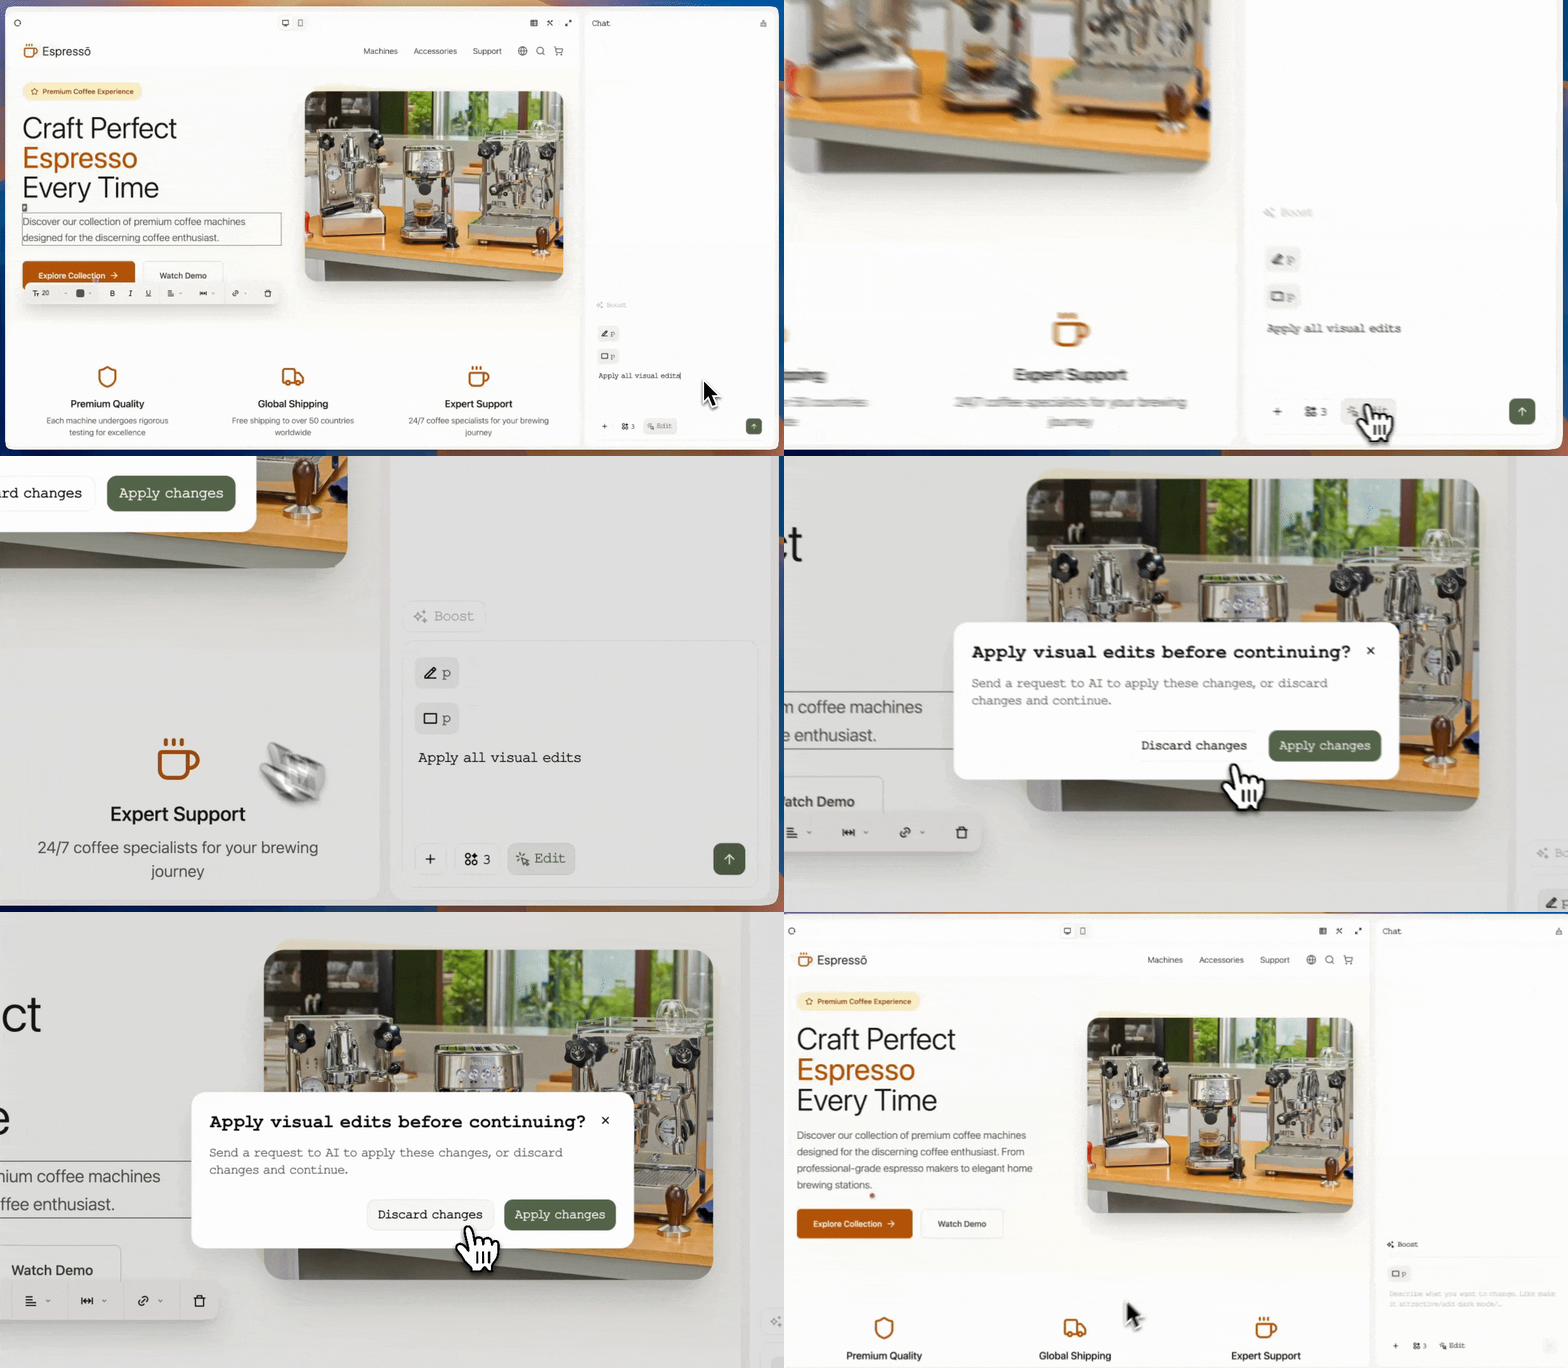
You have two options when leaving Visual Editing mode:Save & Exit (Apply Changes)
Save & Exit (Apply Changes)
Click the send arrow or press Enter to save your edits and exit Visual Editing mode. Your changes become permanent.
Exit Without Saving (Discard Changes)
Exit Without Saving (Discard Changes)
Click the Edit button again in the bottom-left corner. In the popup menu, select Discard changes to exit without saving any modifications.
Best Practices
Be Specific
Visual Editing works best for targeted, precise modifications rather than complete redesigns.
Edit in Batches
Make multiple related changes before applying to optimize credit usage.
Review First
Always review changes in the preview before applying them to avoid unintended modifications.
Combine with AI
Use Visual Editing for refinements and AI chat for structural changes to your website.
